A kitchen exhaust cleaning checklist is a structured, step-by-step process for degreasing hoods, ducts, fans, and filters to reduce fire risk and meet inspection standards. It outlines what to clean, how often, what tools to use, and how to document results. For kitchens in All Over Ontario, this checklist keeps teams safe and compliant.
By Robinhood Cleaners • Last updated: 2026-07-01
Overview of the kitchen exhaust cleaning checklist
Use this kitchen exhaust cleaning checklist to standardize hood, duct, fan, and filter cleaning. It reduces grease, cuts fire risk, improves airflow, and documents compliance. For busy restaurants, a written process ensures nothing is missed and gives inspectors clear before-and-after proof.
Here’s how this guide helps your team move fast and stay safe:
- Defines each system component to clean and why it matters.
- Breaks work into daily, weekly, monthly, and quarterly actions.
- Explains NFPA 96–aligned scheduling in plain language.
- Shows what photos and documentation to capture for inspections.
- Includes a DIY vs professional comparison and a buying guide.
- What is the checklist?
- Why it matters
- How the system works
- The step-by-step checklist
- Cleaning methods and schedules
- Pro best practices
- Tools and resources
- DIY vs professional comparison
- Buying guide
- Ontario case examples
- FAQ
- Key takeaways
What is a kitchen exhaust cleaning checklist?
A kitchen exhaust cleaning checklist is a written, repeatable sequence covering hoods, baffle filters, plenum, ducts, exhaust fans, and roof protection. It defines surfaces, chemicals, methods, safety controls, and proof-of-service, so any trained staffer—or your cleaning vendor—can execute consistently.
In our experience serving restaurants and institutional kitchens, checklists prevent blind spots. Teams rotate. Shifts run late. Without a clear list, grease hides in seams and transitions where heat is highest. A durable, laminated list near the line helps everyone remember critical steps between pro services.
For deeper context on system components and why each matters, see our internal primer on kitchen exhaust cleaning and the practical hood and vent cleaning guide.
Why the checklist matters for safety and compliance
Grease in hoods, ducts, and fans is a primary restaurant fire hazard. A checklist lowers ignition risk, supports NFPA 96 alignment, improves capture efficiency, and provides documentation that insurers and inspectors expect.
Here’s why operators across All Over Ontario rely on a formal list:
- Fire hazard reduction: Grease ignites at typical fryer and broiler temperatures. Removing buildup interrupts that fuel source.
- Airflow and comfort: Clean filters and ducts pull smoke, steam, and heat away from cooks, stabilizing temperature and odor control.
- Compliance confidence: Inspectors look for access panels, clean signatures on fans, and evidence of hinge kits and rooftop protection.
- Equipment longevity: Fans run cooler with balanced blades and tensioned belts, reducing wear.
- Shift-ready operations: Less smoke and fewer nuisance alarms mean smoother service and happier guests.
For background on code expectations in plain terms, review our overview of fire code requirements for kitchen exhaust and this NFPA 96–focused resource on cleaning schedules.
How the exhaust system works (and what to clean)
Your hood captures heat and vapors at the source, baffle filters remove larger grease droplets, ducts carry the airstream, and the rooftop fan discharges it safely. Cleaning focuses on every surface that grease touches—from hood seams to the fan housing and roof containment.
Key components to understand and include in your plan:
- Canopy hood and plenum: Hot vapors rise; grease condenses on metal. Degrease seams, rivets, and the plenum cavity.
- Baffle filters: These collect droplets. Clean or exchange routinely to maintain airflow.
- Vertical and horizontal ducts: Grease adheres at elbows and transitions first; ensure access panels allow full scrape and rinse.
- Exhaust fan assembly: Blades, housing, and drains trap residue. Hinges, hold-open, and a disconnect switch enable safe service.
- Rooftop protection: Use grease containment to protect membranes; saturated pads must be replaced.
For a component-by-component walkthrough, our focused explainer on exhaust duct cleaning benefits pairs well with the exhaust fan maintenance guide.
The kitchen exhaust cleaning checklist (step-by-step)
Follow these steps from line shutdown to final photos. This sequence standardizes prep, degreasing, rinse, reassembly, and documentation—so shifts start clean, fans run smooth, and inspectors see clear evidence.
- Prep the line: Power down cooking equipment, cover appliances, and place wet-floor signage. Set up plastic sheeting and drip trays under the hood.
- Verify safety controls: Confirm the fan disconnect and a hold-open hinge are present. Lockout/tagout as needed.
- Remove baffle filters: Place in a soak tank with a biodegradable degreaser. Rinse and inspect for damage; swap if bent or broken.
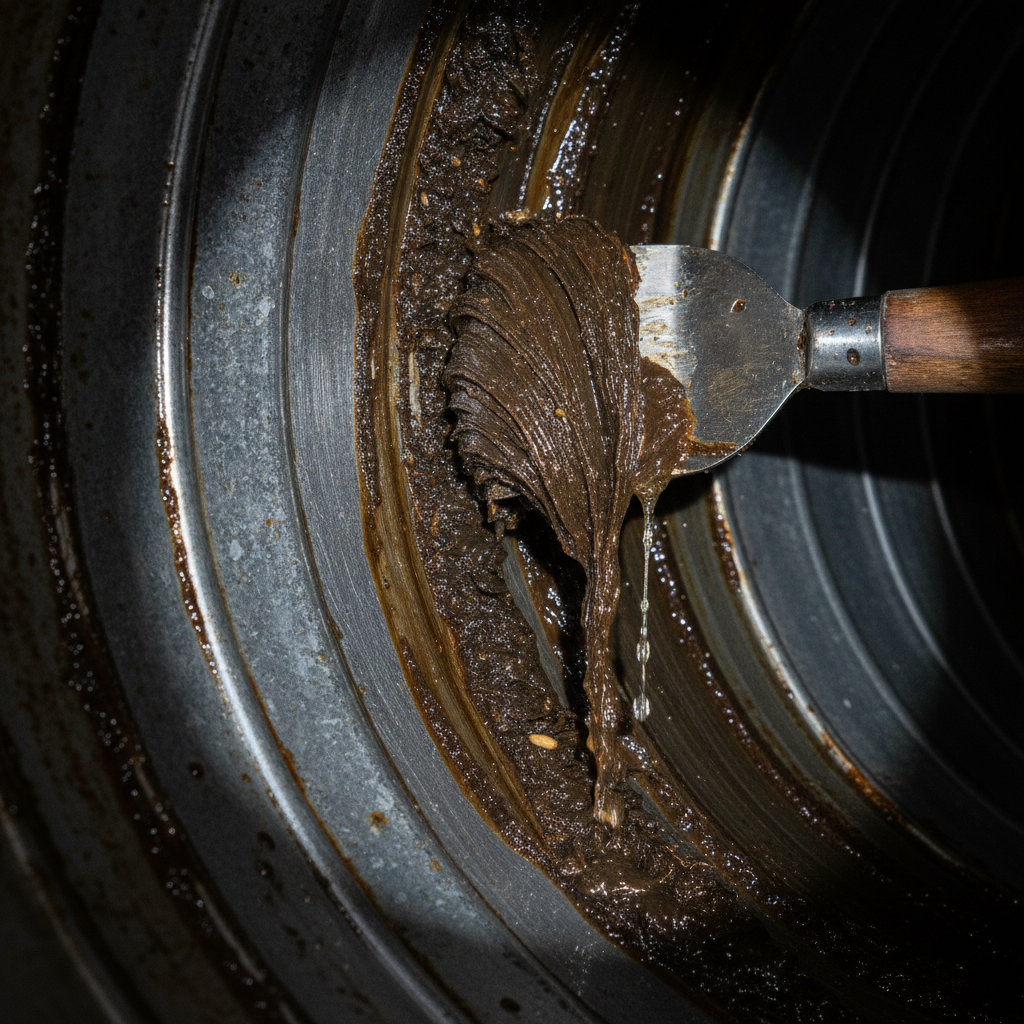
- Degrease the hood and plenum: Apply food-safe alkaline degreaser. Scrape carbonized sections, then rinse with low-pressure warm water.
- Open access panels: Expose horizontal and vertical duct runs. Scrape heavy deposits and follow with heated chemical application.
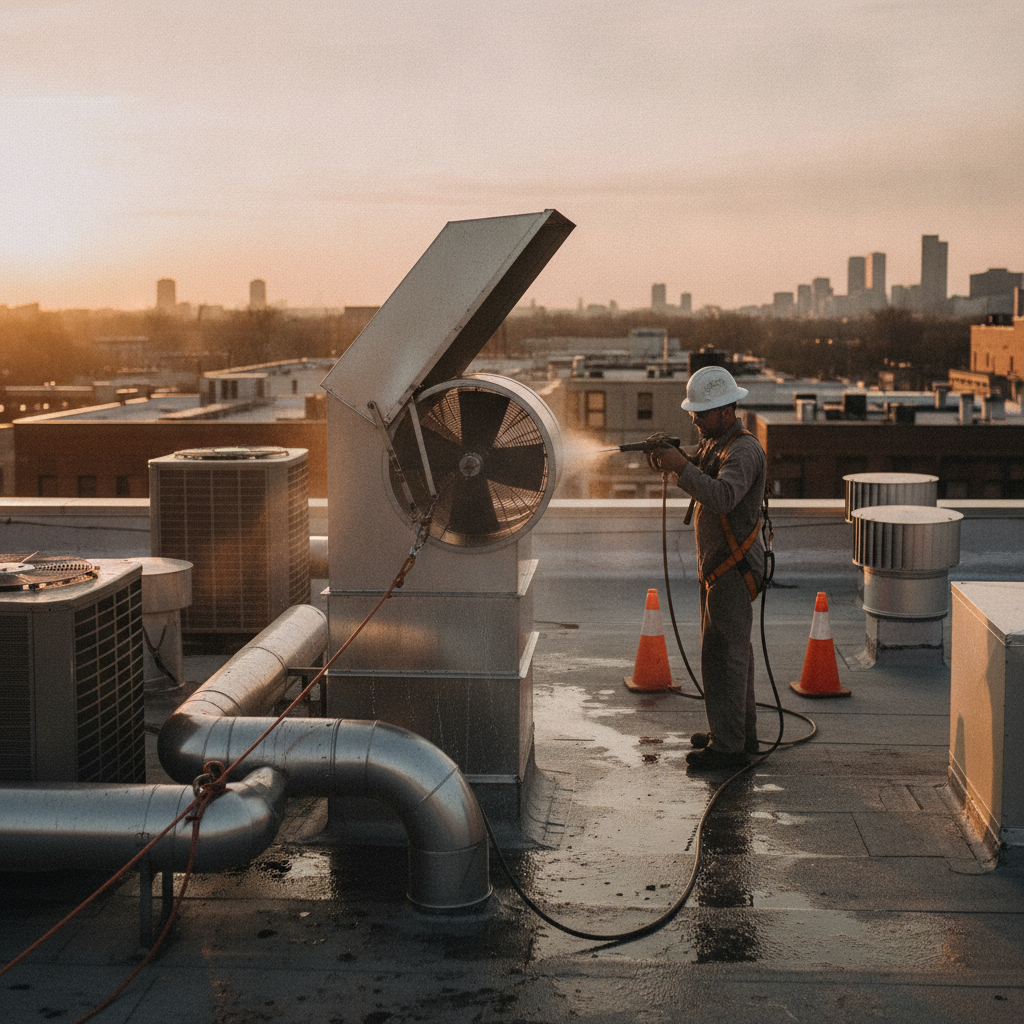
- Service the exhaust fan: Open hinged fan. Scrape and degrease blades, housing, and drain. Check belt tension and bearing play.
- Protect the roof: Replace saturated containment pads. Ensure no chemical runoff enters drains.
- Rinse and neutralize: Rinse all treated surfaces, neutralize as required, and wipe dry accessible areas.
- Reassemble and test: Reinstall clean filters. Remove sheeting. Restore power and verify airflow and abnormal noise.
- Document proof: Capture before/after photos at the hood, each duct access, and the fan. Log date, staff/vendor, and any repairs needed.
Many operators also align this list with a filter exchange program to keep static pressure low between deep cleans.
Types of cleaning methods and schedules
Use manual scraping for heavy deposits, hot-water rinse for residue, and chemical degreasers for film. Schedule service by cooking volume: high-volume fryers and charbroilers need more frequent cleaning than light-duty, low-grease operations.
Common methods
- Hand scraping: Fast removal of thick grease; always follow with degreaser and rinse.
- Heated chemical degreasing: Biodegradable alkaline solutions break down film on metal surfaces.
- Hot-water rinse: Low-pressure rinse carries loosened residue to containment; avoid blasting debris deeper into ducts.
- Steam-assisted cleaning: Helpful on complex geometries; verify compatibility with roofing materials.
Scheduling guidance
- High-volume cooking: Fryers, woks, and charbroilers typically require the most frequent service.
- Moderate use: Standard line service with grills and ovens lands in the midrange.
- Low-grease operations: Light-duty, minimal-grease cooking can extend intervals if inspections show low buildup.
For plain-language scheduling context, many Ontario operators reference this NFPA 96–aligned cleaning schedule overview and a summary of NFPA 96 certified hood cleaning.
Best practices from NFPA 96–aligned pros
Standardize access, protect the roof, verify fan hinges and disconnects, capture photos at every stage, and log belt tension and bearing condition. Pair deep cleans with filter exchanges to keep airflow high and smoke low between services.
- Access first: Ensure every elbow and transition has an access panel sized for scraping tools.
- Roof protection: Use grease containment and replace pads when saturated to protect membranes.
- Hinge and hold-open: Hinged fans prevent wiring strain and allow safe cleaning; hold-open devices secure the lid.
- Mechanical checks: Log belt tension, set-screw security, and abnormal noise or vibration during every visit.
- Evidence trail: Keep dated before/after photos and signed certificates. Inspectors expect clear proof of work.
- Coordination: Schedule during low-volume windows or overnight to avoid service disruption.
For a hands-on dive into system-specific tips, see our restaurant hood cleaning guide and the high-level kitchen cleaning services overview.
Local considerations for All Over Ontario
- Plan roof work around wind and precipitation common in the region; wet membranes are slippery and affect containment setup.
- Seasonal menus change grease load. After festival or holiday spikes, advance a deep clean to keep ducts safe.
- Coordinate overnight access to malls and food courts; security protocols can add time for equipment staging.
Tools and resources you’ll need
Successful exhaust cleaning needs access tools, biodegradable degreasers, hot-water rinse capability, roof containment, PPE, and a simple documentation kit. Stock spares for belts and filters so you can fix issues before the next rush.
Tools
- Access and containment: Hinges, hold-open devices, access panels, plastic sheeting, drip trays, roof pads, and absorbents.
- Cleaning gear: Scrapers, brushes, heated sprayers, and low-pressure rinse wands.
- Safety: Gloves, goggles, cut-resistant sleeves, non-slip footwear, and harnesses for rooftop work.
- Mechanical spares: Fan belts (matched size), set screws, and hinge pins.
- Documentation: Camera/phone, service log, and a laminated checklist by station.
Resources
- Service guidance: Review our NFPA 96–aligned cleaning schedule summary.
- Operations playbooks: Pair with our hood cleaning guide to train new staff.
- System health: Use the fan maintenance guide after every deep clean.
Need a hand after hours? Robinhood Cleaners offers NFPA 96–aligned cleaning, filter exchange, fan belt replacement, and grease trap service across All Over Ontario—available 24/7 to fit your schedule. Explore our commercial exhaust cleaning service.
DIY vs professional: comparison table
DIY covers light-duty surfaces and daily upkeep; professionals handle full-system degreasing, access-limited ducts, and fan service with documentation. Combining both keeps airflow strong and satisfies inspections.
| Factor | DIY (Staff) | Professional (Robinhood Cleaners) |
|---|---|---|
| Scope | Exterior hood, splash areas, filter swaps | Hood, plenum, ducts, fan, rooftop protection |
| Access | Limited; no duct entry | Access panels, hinged fan, hold-open devices |
| Methods | Wipe-downs, mild degreasers | Scraping, heated chemical, hot-water rinse |
| Safety | Basic PPE | Lockout/tagout, harnesses, rooftop controls |
| Documentation | Cleaning log and shift notes | Before/after photos, certificate, service report |
| Maintenance | Filter washing and replacement cues | Fan belt checks and minor adjustments |
When your team handles daily care and we tackle full-system cleaning, you get safe, quiet fans, steady capture, and a clean paper trail.
Buying guide: choosing a hood cleaning provider in Ontario
Look for NFPA 96–aligned processes, WSIB insurance, 24/7 scheduling, photo documentation, rooftop protection, and filter exchange programs. Verify references in similar kitchen types and request a sample report.
- Certifications and insurance: Confirm NFPA 96 alignment and that crews are WSIB insured.
- Safety hardware: The vendor should install or use hinges, hold-open devices, and access panels.
- Proof-of-service: Expect timestamped photos at the hood, access panels, and fan.
- Support services: Filter exchange, fan belt replacement, and grease trap service reduce downtime.
- Scheduling: Overnight, off-day, or early-morning slots to protect service windows.
- References: Ask for examples from quick service, fine dining, and institutional kitchens.
If you want a plain-language overview of professional scope, skim this commercial hood cleaning service explainer and the summary of NFPA 96 certified hood cleaning.
Case examples from All Over Ontario kitchens
These short scenarios reflect common operations in All Over Ontario: quick service, fine dining, and institutional food service. Each shows how a practical checklist and pro partnership reduce risk and keep airflow steady.
Quick service restaurant
- Challenge: Heavy fryer and grill output led to smoky rushes and frequent filter clogs.
- Checklist tweak: Daily filter swaps, weekly hood edge degreasing, monthly fan checks.
- Result: Smoother capture during lunch, fewer nuisance alarms, and cleaner rooftop pads.
Fine dining kitchen
- Challenge: Char and sauté stations created localized deposits near elbows and transitions.
- Checklist tweak: Added access panel photo verification and steam assistance for complex seams.
- Result: Even draw across the line and quieter fan operation after blade balancing.
Institutional kitchen
- Challenge: Multiple hoods across a large facility complicated scheduling and sign-offs.
- Checklist tweak: Color-coded hoods in the log and a rolling quarterly deep-clean calendar.
- Result: Predictable service windows and inspection-ready documentation across the campus.
For more practical examples, our overview of commercial kitchen cleaning services outlines how filter exchange and fan maintenance integrate with exhaust cleaning.
Frequently asked questions
These concise answers address the questions operators ask most about checklists, frequency, documentation, and signs it’s time to clean. Each response is designed for quick reference during pre-shift checks or inspections.
How often should a commercial kitchen exhaust be cleaned?
Frequency depends on cooking volume and grease output. High-volume fryers and charbroilers need the most frequent service, while low-grease operations can extend intervals if inspections show minimal buildup. Pair daily filter care with scheduled deep cleans to keep airflow stable.
What proof do inspectors expect after cleaning?
Provide before/after photos at the hood, each duct access panel, and the exhaust fan. Include a signed certificate, service date, and any repair notes. Keep these with your food safety binder so managers can produce them quickly during inspections.
Can my staff handle some of the exhaust cleaning?
Yes—assign daily wipe-downs and filter care to staff. Leave full-system degreasing, duct access work, fan service, and rooftop protection to trained professionals. This division keeps the line clean between visits and preserves compliance documentation.
What signs show it’s time to advance a deep clean?
Watch for smoky rushes, odors that linger after service, rattling or squealing from the fan, and filters that clog within a shift. If rooftop pads saturate quickly, that’s another cue to move up the schedule.
Key takeaways and next steps
Standardize your kitchen exhaust cleaning checklist, pair it with filter exchange, and schedule full-system deep cleans. Capture photos, log mechanical checks, and protect the roof. This simple framework reduces risk and keeps inspectors confident.
- Use the step-by-step list to guide every service.
- Keep filter exchange on a rhythm to stabilize airflow.
- Log photos and sign-offs in a single binder for inspections.
- Schedule deep cleans during low-volume windows.
- For help across All Over Ontario, explore our commercial exhaust program.
Ready to align your operation? Book a quick assessment with Robinhood Cleaners—available 24/7 across All Over Ontario—and start your next shift with clear air and a clean paper trail.